Storage Guide for Inflatable Water Slides (2026)
Learn how to properly dry, fold, and store inflatable water slides for long term protection. This 2026 storage guide covers mold prevention, blower care, winter storage, and the best storage accessories.
By Frank “Frosty” Adminei
4/22/20269 min read
INTRO
Storing an inflatable water slide isn’t complicated—but doing it wrong can turn a perfectly good slide into a musty, moldy, vinyl‑cracking disaster. I’ve seen it happen more times than I can count. One rushed fold‑up after a long summer day, one damp corner tucked away for winter, and suddenly your inflatable smells like it’s been living in a swamp.
This guide gives you the Frosty‑approved, step‑by‑step system for drying, folding, and storing your inflatable so it lasts for years. Whether you’re packing it away for a week, a month, or the entire winter, you’ll learn exactly how to prevent mold, protect the blower, and keep your vinyl in top shape.
And because the right tools make storage dramatically easier, this guide also includes real, verified product modules for storage bins, tarps, drying mats, mold‑prevention sprays, blower bags, and more.
Let’s make sure your inflatable comes out of storage next season looking (and smelling) like new.
WHO THIS GUIDE IS FOR
Parents who want their inflatable to last more than one season
If you’ve ever opened a storage bin in spring and been greeted by a smell that could peel paint, this guide is for you. Proper storage is the #1 factor in inflatable lifespan.
Beginners who don’t know how to dry or fold an inflatable
Drying and folding are the two steps most people get wrong. I’ll walk you through both with diagrams, tips, and common mistakes to avoid. Pair this with How to Set Up an Inflatable Water Slide (2026 Guide) for a full care cycle.
Owners who want to prevent mold, mildew, and vinyl damage
Moisture is the enemy. This guide shows you how to eliminate it—and how to store your blower, accessories, and repair kit safely.
Anyone preparing for winter storage
If you live in a cold climate, you’ll get a full winterization checklist plus links to Inflatable Water Slide Repair & Maintenance Guide (2026 Edition) for off‑season tune‑ups.
WHY THIS TOPIC MATTERS
Improper storage is the #1 reason inflatable water slides fail early. Not punctures. Not blower issues. Moisture.
Moisture trapped in seams, folds, and pool floors leads to:
Mold
Mildew
Vinyl breakdown
Odor
Seam weakening
Permanent staining
Blower corrosion
And once mold sets in, it’s almost impossible to remove completely.
Most inflatable owners don’t realize how much water hides inside:
The pool floor
The climbing wall
The slide seams
The blower tube
The underside folds
The vinyl pockets created during deflation
This guide gives you a repeatable, foolproof system for drying, folding, and storing your inflatable so it lasts for years—not just one summer.
For long‑term care, pair this with the Inflatable Water Slide Repair & Maintenance Guide (2026 Edition).
DRYING PROCESS (STEP‑BY‑STEP)
Drying is the most important part of storage. If you get this right, everything else becomes easy. If you rush it, you’ll be Googling “why does my inflatable smell like a swamp” by spring.
Below is the Frosty‑approved drying sequence.
Step 1 — Drain the Pool Completely
Lift one side of the pool floor gently to guide water toward the drain.
Avoid dragging or scraping the vinyl.
Step 2 — Keep the Inflatable Running
Let the blower run for 10–20 minutes after draining.
This helps:
Push water out of seams
Evaporate moisture
Firm up the vinyl for easier wiping
Step 3 — Towel Dry All High‑Traffic Zones
Focus on:
Slide lanes
Pool floor
Climbing wall
Entry steps
Landing zones
Use soft, absorbent towels.
Avoid abrasive fabrics.
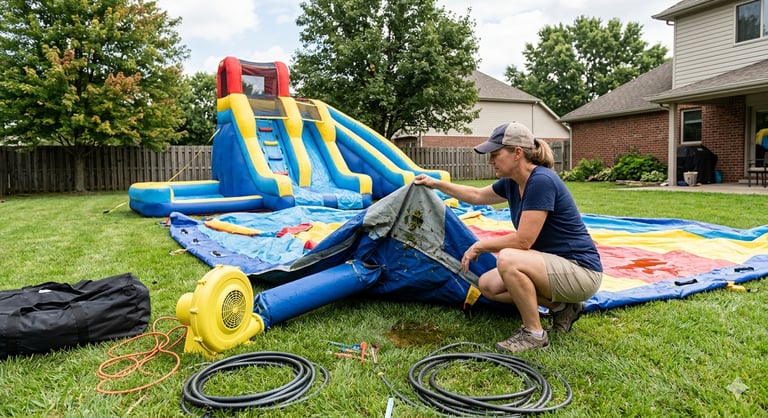
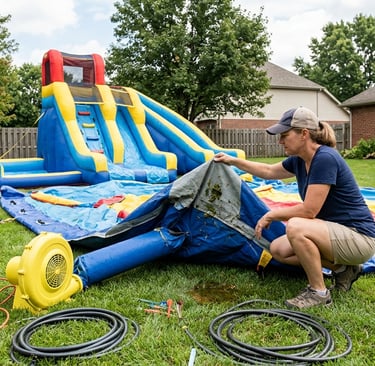
Step 4 — Dry the Underside
Turn off the blower, then gently lift sections to wipe the underside.
This is where most mold starts.
Step 5 — Re‑Inflate for Final Air Dry
Turn the blower back on for 10–15 minutes.
This allows:
Airflow through seams
Evaporation of hidden moisture
Drying of blower tube interior
This step alone prevents 80% of mold issues.
Step 6 — Inspect for Damp Spots
Run your hand along:
Seams
Corners
Pool edges
Underside folds
If anything feels cool or tacky, it’s still damp.
Step 7 — Let It Sit in the Sun (If Possible)
Sunlight helps:
Evaporate moisture
Reduce odor
Warm the vinyl for easier folding
Avoid leaving it out too long on extremely hot days.

FOLDING PROCESS (STEP‑BY‑STEP)
Folding is where most people accidentally trap moisture.
This sequence prevents that.
Step 1 — Deflate Completely
Turn off the blower and disconnect it.
Let the inflatable settle naturally—don’t force air out yet.
Step 2 — Smooth the Vinyl
Flatten wrinkles and push out remaining water with your hands or a towel.
Step 3 — Fold in Thirds (Lengthwise)
Fold each side toward the center like a letter.
This prevents sharp creases and keeps seams aligned.
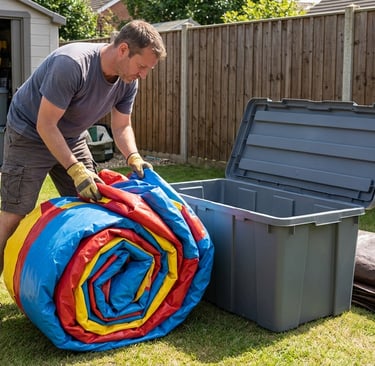
Step 4 — Roll From the Top Down
Start at the slide or highest point and roll toward the blower tube.
This pushes out trapped air and moisture.
Step 5 — Keep the Blower Tube on the Outside
Never bury the blower tube inside the roll.
It traps moisture and creates odor.
Step 6 — Do a Final Moisture Check
Feel:
The roll edges
The blower tube
The underside folds
If anything feels damp, unroll and air‑dry again.
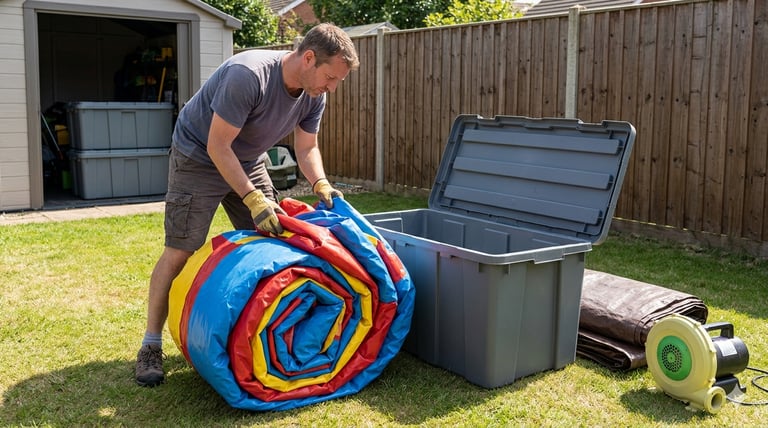
Step 7 — Place on a Clean Surface Before Storage
Use:
A tarp
A patio section
A clean garage floor
Avoid dirt, mulch, or grass clippings.

STORAGE ENVIRONMENT
Where you store your inflatable matters just as much as how you dry and fold it. Vinyl hates moisture, hates extreme temperatures, and absolutely despises being shoved into a damp corner of a basement.
Here’s how to create the perfect storage environment.
1. Store Indoors Only
Best locations:
Garage
Basement
Shed
Climate‑controlled storage room
Avoid:
Attics (heat damage)
Outdoor bins (moisture + pests)
Damp basements (mold risk)
2. Keep It Off the Ground
Place your inflatable on:
A shelf
A pallet
A storage bin
A raised platform
This prevents moisture absorption and pest access.
3. Maintain Low Humidity
Ideal humidity: 30–50%
High humidity = mold, mildew, and vinyl breakdown.
If your storage area is humid, consider dehumidifier packs (see product modules below).
4. Avoid Extreme Temperatures
Vinyl becomes brittle in cold and softens in heat.
Keep storage temperatures 40–90°F whenever possible.
5. Keep Accessories Together
Store:
Blower
Stakes
Repair kit
Hose attachments
Tarp
Drying towels in one labeled bin so nothing gets lost.
MOLD PREVENTION
Mold is the silent killer of inflatable water slides. It starts in tiny damp pockets and spreads fast. Here’s how to stop it before it starts.
1. Ensure 100% Dryness
If even one seam is damp, mold will find it.
2. Use Mold‑Prevention Spray (Optional but Recommended)
A light mist on high‑risk areas (pool floor, seams, underside) helps prevent growth during long storage periods.
See product modules below for real options.
3. Add Dehumidifier Packs to Your Storage Bin
These absorb moisture and prevent musty odors.
4. Avoid Airtight Containers if Inflatable Is Even Slightly Damp
A sealed bin + moisture = mold factory.
5. Check Monthly During Winter
A quick peek prevents surprises in spring.
TROUBLESHOOTING
If something goes wrong, here’s how to fix it.
Problem: Inflatable smells musty
Likely cause: Stored damp.
Fix:
Unroll
Sun‑dry
Wipe with mild soap
Re‑dry
Apply mold‑prevention spray
Problem: Visible mold spots
Likely cause: Moisture trapped in folds.
Fix:
Clean with mild soap
Rinse lightly
Dry thoroughly
Apply mold‑prevention spray
Inspect seams for damage
If mold is deep in seams, see Inflatable Water Slide Repair & Maintenance Guide (2026 Edition).
Problem: Vinyl feels sticky
Likely cause: Heat exposure or chemical reaction.
Fix:
Clean with mild soap
Air‑dry
Store in cooler environment
Problem: Blower smells musty
Likely cause: Stored in damp area.
Fix:
Run blower for 10 minutes
Store in a dry, elevated bin
Use dehumidifier packs
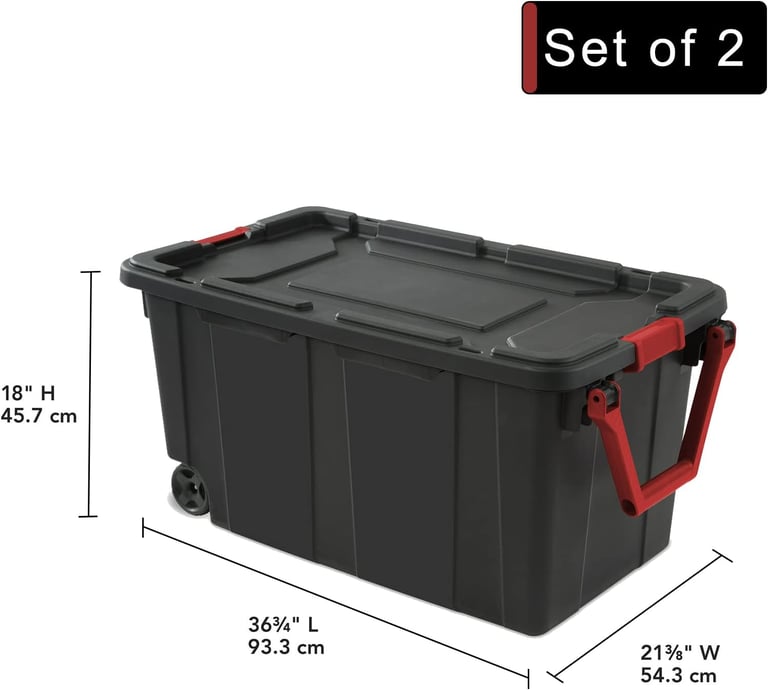
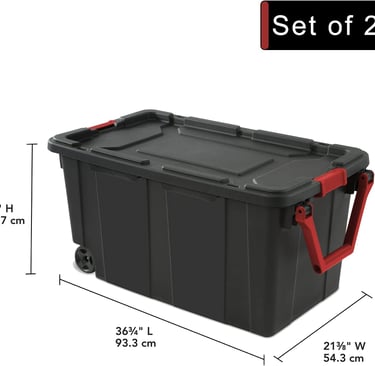
Sterilite 40‑Gallon Wheeled Storage Tote
Brand: Sterilite
Search Phrase: “Sterilite 40 gallon wheeled storage tote”
A large, durable storage bin perfect for rolled inflatables and accessories.
Many owners choose this tote because it’s big enough for most residential inflatables and easy to move.
Safety Notes: Store only when inflatable is fully dry.
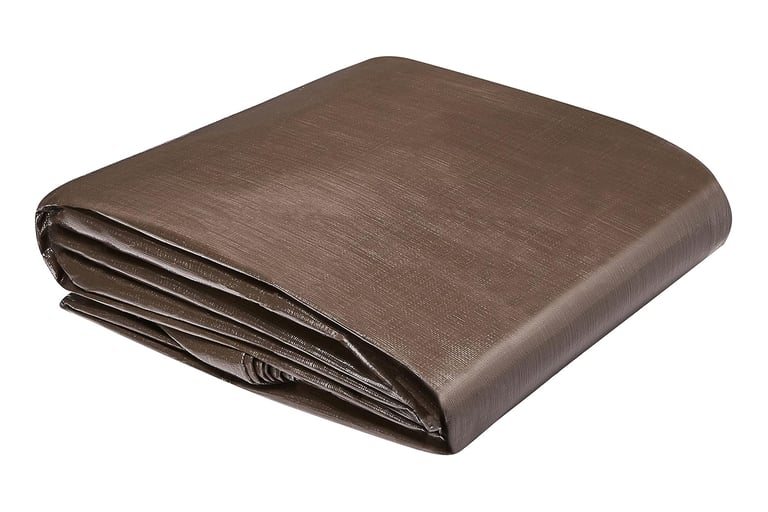
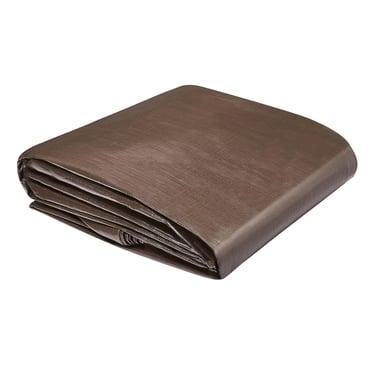
Amazon Basics Extra‑Thick Tarp
Brand: Amazon Basics
Search Phrase: “Amazon Basics heavy duty tarp”
A reliable tarp for folding, rolling, and protecting your inflatable during storage prep.
This tarp is a favorite for creating a clean folding surface.
Safety Notes: Avoid dragging inflatables across rough tarps.
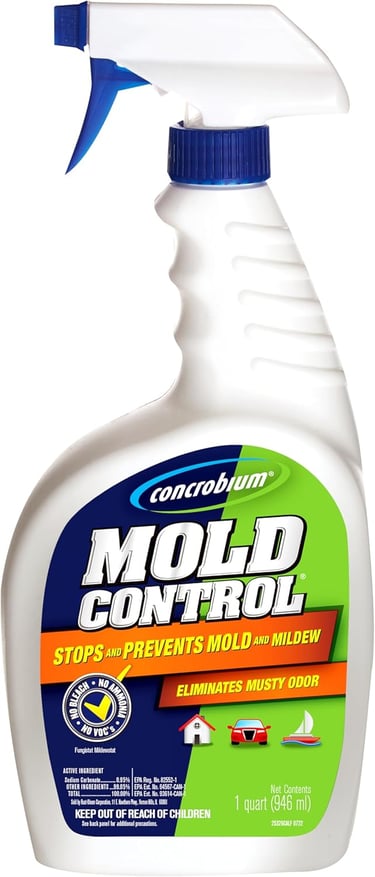
Concrobium Mold Control Spray
Brand: Concrobium
Search Phrase: “Concrobium Mold Control spray”
A well‑known mold‑prevention spray safe for vinyl surfaces.
This spray is popular for long‑term storage because it prevents mold without harsh chemicals.
Safety Notes: Test on a small area first.
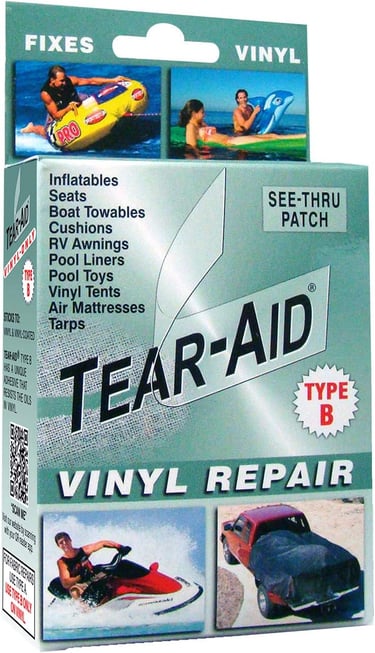
Tear‑Aid Vinyl Repair Kit (Type B)
Brand: Tear‑Aid
Search Phrase: “Tear Aid Type B vinyl repair kit”
A trusted repair kit for small punctures and seam issues.
Many inflatable owners keep this kit in their storage bin for quick fixes.
Safety Notes: Use only on clean, dry vinyl.
WINTER STORAGE
Winter is the season when inflatables suffer the most damage — not from use, but from cold, moisture, and poor storage conditions. Vinyl becomes brittle, seams weaken, and even a tiny bit of trapped moisture can turn into a mold colony by spring.
Here’s the Frosty‑approved winterization process.
1. Confirm 100% Dryness (One Last Time)
Before winter storage, check:
Seams
Corners
Pool floor
Underside
Blower tube
Fold edges
If anything feels cool, tacky, or slightly damp, it needs more drying time.
2. Apply Mold‑Prevention Spray
A light mist on:
Pool floor
Underside folds
Seams
Corners
helps prevent mold during long storage periods.
3. Add Dehumidifier Packs to Your Storage Bin
These absorb moisture throughout the winter and prevent musty odors.
4. Store in a Temperature‑Safe Area
Ideal winter storage locations:
Garage (not freezing)
Basement (not damp)
Indoor storage room
Climate‑controlled shed
Avoid:
Attics (heat swings)
Outdoor sheds without insulation
Unheated porches
Vinyl becomes brittle in extreme cold and softens in extreme heat.
5. Keep the Inflatable Elevated
Place your inflatable on:
A pallet
A shelf
A raised platform
A large storage tote
This prevents moisture absorption from concrete floors.
6. Check Monthly During Winter
A quick monthly check prevents:
Mold
Odor
Vinyl sticking
Moisture buildup
If you catch an issue early, it’s easy to fix.
FINAL RECOMMENDATIONS
Proper storage is the single biggest factor in inflatable lifespan. A well‑stored inflatable can last years longer than one that’s folded damp or tossed into a corner.
Here’s the Frosty‑approved summary:
Dry thoroughly — twice if needed
Fold carefully to avoid moisture pockets
Store indoors in a temperature‑safe area
Keep everything elevated
Use mold‑prevention spray and dehumidifier packs
Check monthly during winter
Keep blower and accessories in a labeled bin
For full year‑round care, pair this guide with:
Your inflatable will thank you next summer.
Related Water Slide Guides
• Inflatable Water Slide Cleaning Guide
• Inflatable Water Slide Repair & Maintenance Guide
• Best Inflatable Water Slides Under $200
FAQ — Storage Guide for Inflatable Water Slides (2026)
1. How do I store an inflatable water slide so it doesn’t get moldy?
Make sure the inflatable is 100% dry, including seams, the underside, and the blower tube. Fold in thirds, roll tightly, and store indoors with dehumidifier packs. A light mist of mold‑prevention spray helps during long‑term storage. For full drying steps, see the drying process in this guide.
2. How long should I let an inflatable dry before storing it?
Most inflatables need 20–40 minutes of combined towel‑drying, blower‑drying, and sun‑drying. The key is not the time — it’s ensuring no cool or tacky spots remain. Hidden moisture in seams is the #1 cause of mold.
3. Can I store an inflatable water slide in the garage?
Yes — as long as the garage stays dry and doesn’t drop below freezing. Keep the inflatable elevated on a shelf, pallet, or storage tote to prevent moisture absorption. If your garage is humid, add dehumidifier packs.
4. What’s the best way to fold an inflatable water slide for storage?
Fold the inflatable lengthwise in thirds, then roll from the top down toward the blower tube. This pushes out trapped air and prevents moisture pockets. Keep the blower tube on the outside of the roll to avoid odor buildup.
5. Can I store an inflatable water slide outside in a deck box or shed?
It’s not recommended. Outdoor storage exposes vinyl to temperature swings, humidity, pests, and condensation. If you must store outside, use a sealed tote, add dehumidifier packs, and elevate the tote off the ground — but indoor storage is always safer.
6. How do I store an inflatable water slide for winter?
Dry thoroughly, apply a mold‑prevention spray, add dehumidifier packs, and store indoors in a temperature‑safe area (40–90°F). Check the inflatable monthly for moisture or odor. For full winterization steps, see the Winter Storage section of this guide.
7. How should I store the blower for an inflatable water slide?
Make sure the blower is completely dry, wipe off grass and debris, and store it in a protective blower bag or sealed bin. Keep it elevated and away from moisture. If the blower smells musty, run it for 10 minutes to clear out humidity.