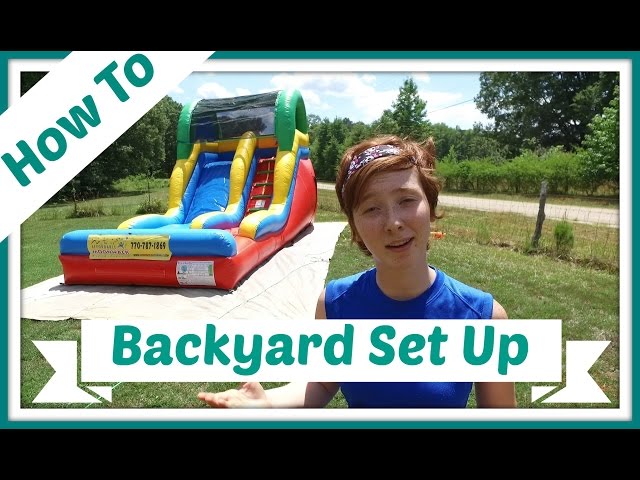
How to Set Up an Inflatable Water Slide (2026 Guide)
Learn how to safely set up an inflatable water slide with this step by step 2026 guide. Includes blower placement, anchoring, water hookup, safety checks, and pro tips for smooth backyard fun.
Written by Frank “Frosty” Adminei
4/5/20265 min read
To set up an inflatable water slide, choose a flat grassy area, unroll the slide, connect the blower, anchor all points, inflate fully, attach the water hose, and test the sprayers before letting kids play. Proper setup ensures safety, stability, and smooth sliding.
“A safe setup starts with a flat surface, full anchoring, and correct blower placement.”
Overview
Setting up an inflatable water slide is simple once you know the sequence: pick the right spot, unroll the slide, connect the blower, anchor everything, inflate, attach the water system, and check for tension. This guide walks you through each step with clear instructions, safety notes, and pro tips to keep your slide firm, safe, and fun all summer long.
“The right setup keeps the slide firm, the kids safe, and the fun flowing.”
If you’re still choosing a model, compare options in Best Inflatable Water Slides Under $500.
INTRODUCTION — Why Setup Matters
A properly set‑up inflatable water slide is safer, firmer, and far more fun. Most issues — sagging walls, slow slides, unstable bases, or sprayers that don’t line up — come from small setup mistakes. The good news is that once you know the right order, setup becomes fast and predictable.
This guide walks you through the exact steps I use when setting up slides for families, parties, and backyard events. Whether you’re inflating a compact toddler slide or a full‑size dual‑lane model, the process is the same — and once you’ve done it once, you’ll be able to set up any slide in minutes.
Choose the Right Location
Picking the right spot is the foundation of a safe setup. You want a space that’s flat, soft, and clear of obstacles.
What to Look For
A flat grassy area
At least 5 feet of clearance on all sides
No rocks, sticks, or sprinkler heads
No overhead branches or wires
A nearby power outlet for the blower
Why Grass Is Best
Grass cushions the base, holds stakes securely, and protects the slide from abrasion.
Avoid
Concrete
Gravel
Slopes
Mulch beds
These surfaces can damage the slide or create unsafe landings.
Connect the Blower Correctly
The blower is the engine of the entire slide. A perfect setup starts with a clean, straight connection and proper airflow.
How to Connect the Blower
Locate the main blower tube (usually the largest one).
Slide the tube over the blower outlet.
Pull the drawstring tight so no air escapes.
Make sure the tube is straight — no twists or kinks.
Close all secondary air vents or zippers on the slide.
Blower Placement Tips
Keep the blower on dry ground.
Place it uphill if your yard slopes.
Keep it away from the splash zone.
Use an outdoor‑rated extension cord if needed.
Mini Example
If your yard slopes slightly, place the blower at the top of the slope so water flows away from it.
Anchor the Slide (Most Important Step)
Anchoring is what keeps the slide stable, firm, and safe — especially when kids are climbing and landing repeatedly. Even small slides need every anchor point secured.
How to Anchor the Slide
Locate all anchor loops around the base.
Insert stakes at a 45‑degree angle, pointing away from the slide.
Hammer stakes until only the hook is visible.
Tug each anchor point to confirm it’s tight.
Add sandbags if the ground is too hard for stakes.
Why 45 Degrees?
This angle provides the strongest resistance against pulling forces from climbing and sliding.
When to Use Sandbags
On artificial turf
On compacted soil
On patios or decks
During windy conditions
Mini Example
A family hosting a birthday party should use all stakes plus two sandbags on the climbing‑wall side for maximum stability.

Inflate & Perform a Tension Check
Once everything is connected and anchored, it’s time to inflate the slide and make sure the structure is fully firm.
Inflation Steps
Turn on the blower.
Allow 1–3 minutes for full inflation.
Walk around the slide and smooth out any folds.
Check that the climbing wall is firm.
Check that the slide lane has no sagging.
Ensure the splash pool walls are upright.
Tension Check
A properly inflated slide should feel:
Firm under your hand
Upright at all walls
Smooth along the slide lane
Stable at the climbing wall
If anything feels soft:
Check for open zippers
Check the blower tube connection
Check for twisted air tubes
Re‑anchor loose points
Mini Example
If the top platform feels soft, check the rear anchor points — they often control the tension of the upper structure.
If you need repair instructions after setup, see the Repair & Maintenance Guide for Inflatable Water Slides.
For durability expectations after proper setup, see the Inflatable Water Slide Lifespan Guide.
Attach the Water System
Once the slide is fully inflated and tension‑checked, it’s time to connect the water. This step is simple, but doing it correctly ensures smooth sliding and prevents over‑saturation.
How to Attach the Water Hose
Locate the sprayer line along the top of the slide.
Connect your garden hose to the main inlet.
Use the Velcro or clips to secure the sprayer line in place.
Turn the water on slowly.
Adjust until the slide is evenly wet.
Why Low Pressure Matters
High pressure can:
Knock sprayers out of alignment
Flood the splash pool
Create slippery climbing walls
A steady, medium flow keeps everything controlled.
Mini Example
If the sprayers are shooting water sideways, reduce pressure and reposition the sprayer line so it faces directly down the slide.
Final Safety Checks
Before kids start climbing, take one minute to run through a quick safety checklist. This prevents 99% of common issues.
Safety Checkpoints
Anchors: All stakes fully hammered and tight
Blower: Running smoothly, no obstructions
Zippers: All air‑release zippers fully closed
Sprayers: Even coverage, no overspray on climbing wall
Splash Pool: Water level shallow and safe
Climbing Wall: Handholds secure and firm
Slide Lane: No wrinkles or soft spots
Parent‑Ready Tip
Walk the entire perimeter once. If everything feels firm and upright, you’re good to go.
Mini Example
If the top platform leans slightly, tighten the rear anchors — they control upper‑body tension.
First‑Use Tips
The first few minutes of use help the slide settle into its ideal shape. A little guidance keeps things smooth and safe.
Let Kids Start Slowly
Have the first few riders slide one at a time to help the structure settle.
Teach the Climb‑Slide‑Exit Pattern
Show kids:
Climb up
Slide down
Exit the pool
Walk around
This prevents pile‑ups.
Monitor the Water Flow
If the slide lane dries out, increase water slightly.
If the splash pool fills too quickly, reduce pressure.
Keep Shoes and Toys Away
Shoes, sticks, and hard toys can damage the slide or cause injuries.
Mini Example
For a birthday party, demonstrate the “climb‑slide‑exit” pattern once, then let kids follow the flow.
For cleaning steps after setup, read the Cleaning Guide for Inflatable Water Slides.
For long‑term storage after setup and use, review the Storage Guide for Inflatable Water Slides.
FAQ Block — Setup
Why won’t my slide inflate fully?
Check for blocked blower intakes, loose zippers, or air leaks.
How many anchors do I need?
Use all included anchors—typically 6–10 depending on size.
Can I set up a slide on a slope?
Only on very gentle slopes. Steep angles are unsafe.